
The Pinch Flat Guide to Bikepacking Bags
Looking to piece together your first bikepacking setup but not quite sure where to start? In the Pinch Flat guide to bikepacking bags, we break down everything you need to know, from what they’re each intended for, design differences and how to combine them to get the right set up to suit you and your ambitions for adventure by bike.
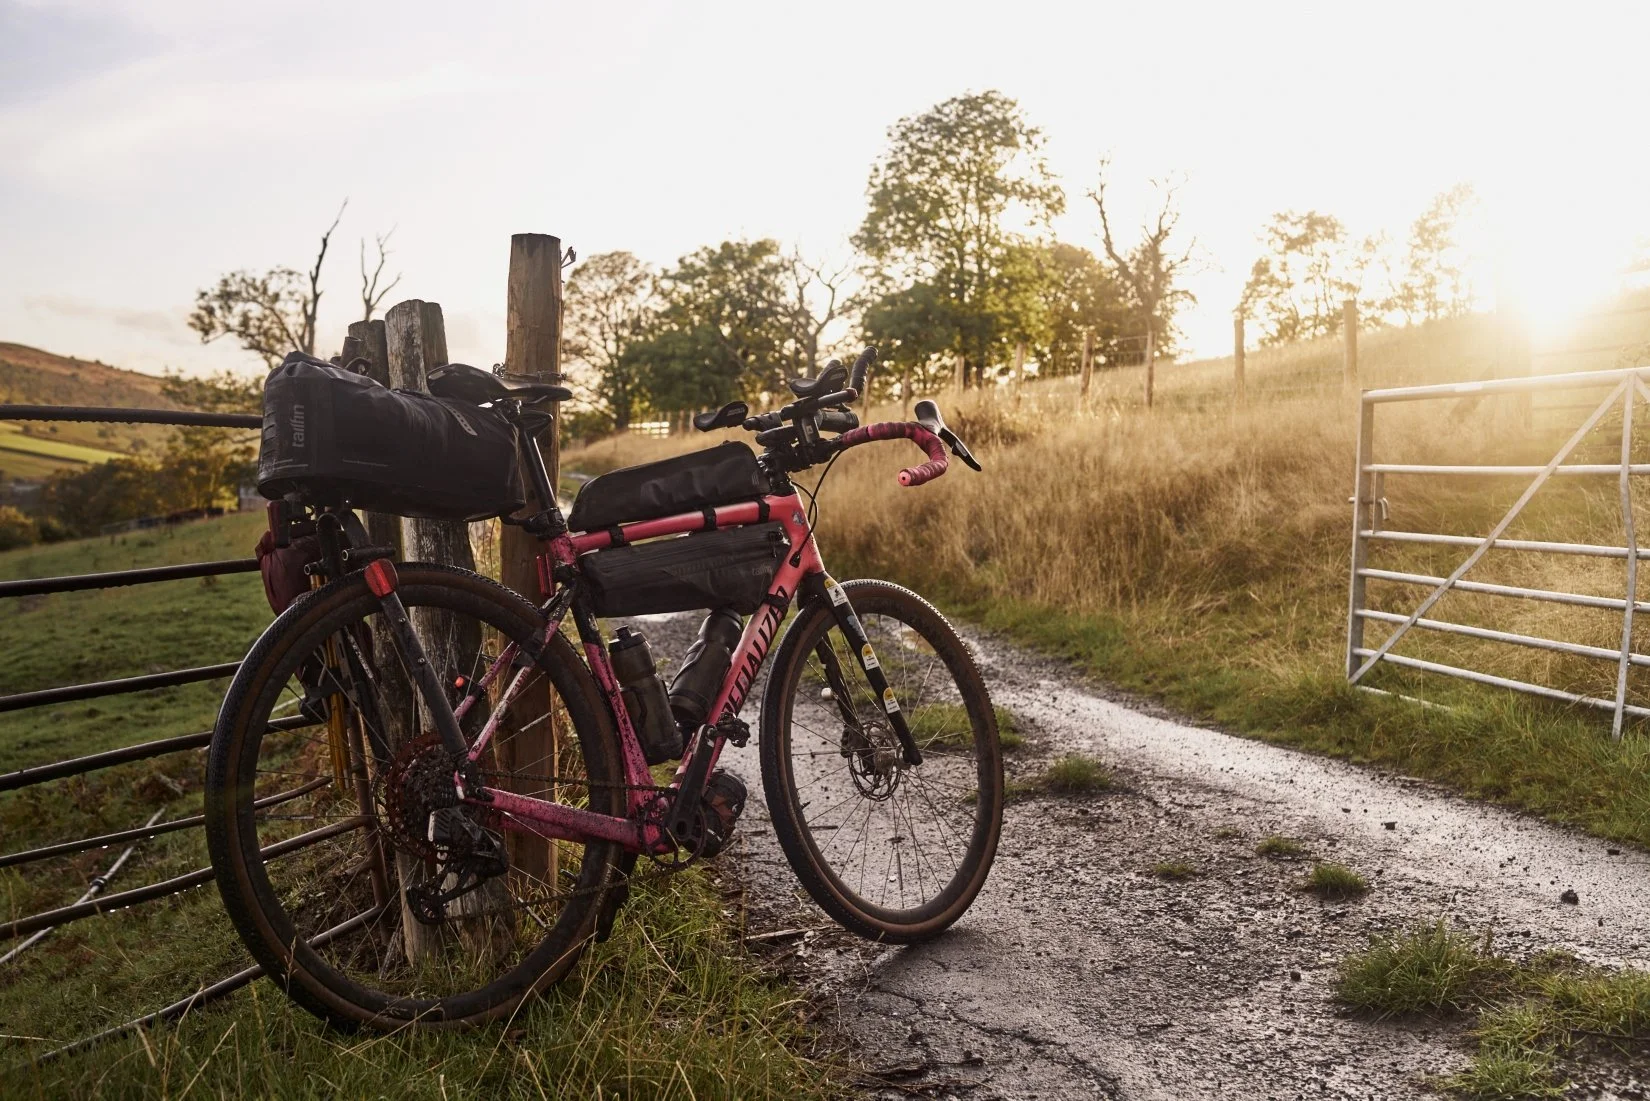
Michael Drummond’s mixed terrain overnight setup for a weekend of Detours in Wales.
What is Bikepacking?
Bikepacking, we reckon is the most freedom you can experience on two wheels, transcending the simple act of riding a bike, blending together navigation, travel, wild places, and the quiet thrill of self-reliance into one experience. It can take you deep into hard-to-reach landscapes, across vast distances, or just a few miles from your front door on a local, low-impact adventure. Where you go, what you ride, and how you do it are entirely up to you.
So what really is bikepacking? At its simplest, bikepacking is loading your gear onto your bike and heading out for more than a day. What exactly that looks like is entirely up to you. An overnight trip with a change of clothes? Bikepacking. A week of remote trails and wild camping? Bikepacking. Stripping everything back for a long-distance race across a country? Still bikepacking.
There’s no single way to do it. Events, races, and rallies exist if you want them but many riders never take part in anything organised at all. What matters most is the sense of ownership: choosing your own route, pace, and purpose.
We’re not here to tell you how to ride, or to insist that bikepacking is for everyone. But if you’re curious about the idea of exploring by bike we’re here to help you get started.
What’s the difference between bikepacking and cycle touring?
Really, there is no difference. Cycle touring has always meant travelling by bike, but in recent years, as the bags have moved from rack to on-frame and the terrain has gotten more adventurous, we’ve seen it rebranded as bikepacking.
For us, that’s detail when it comes to setup choice. Bikpeacking, cycle touring, adventuring by bike, call it whatever you want, it’s all about carrying some stuff on your bike and venturing out with you the kit you need, be it full camping kit, food and spares, or a change of clothing for a night in a hotel.
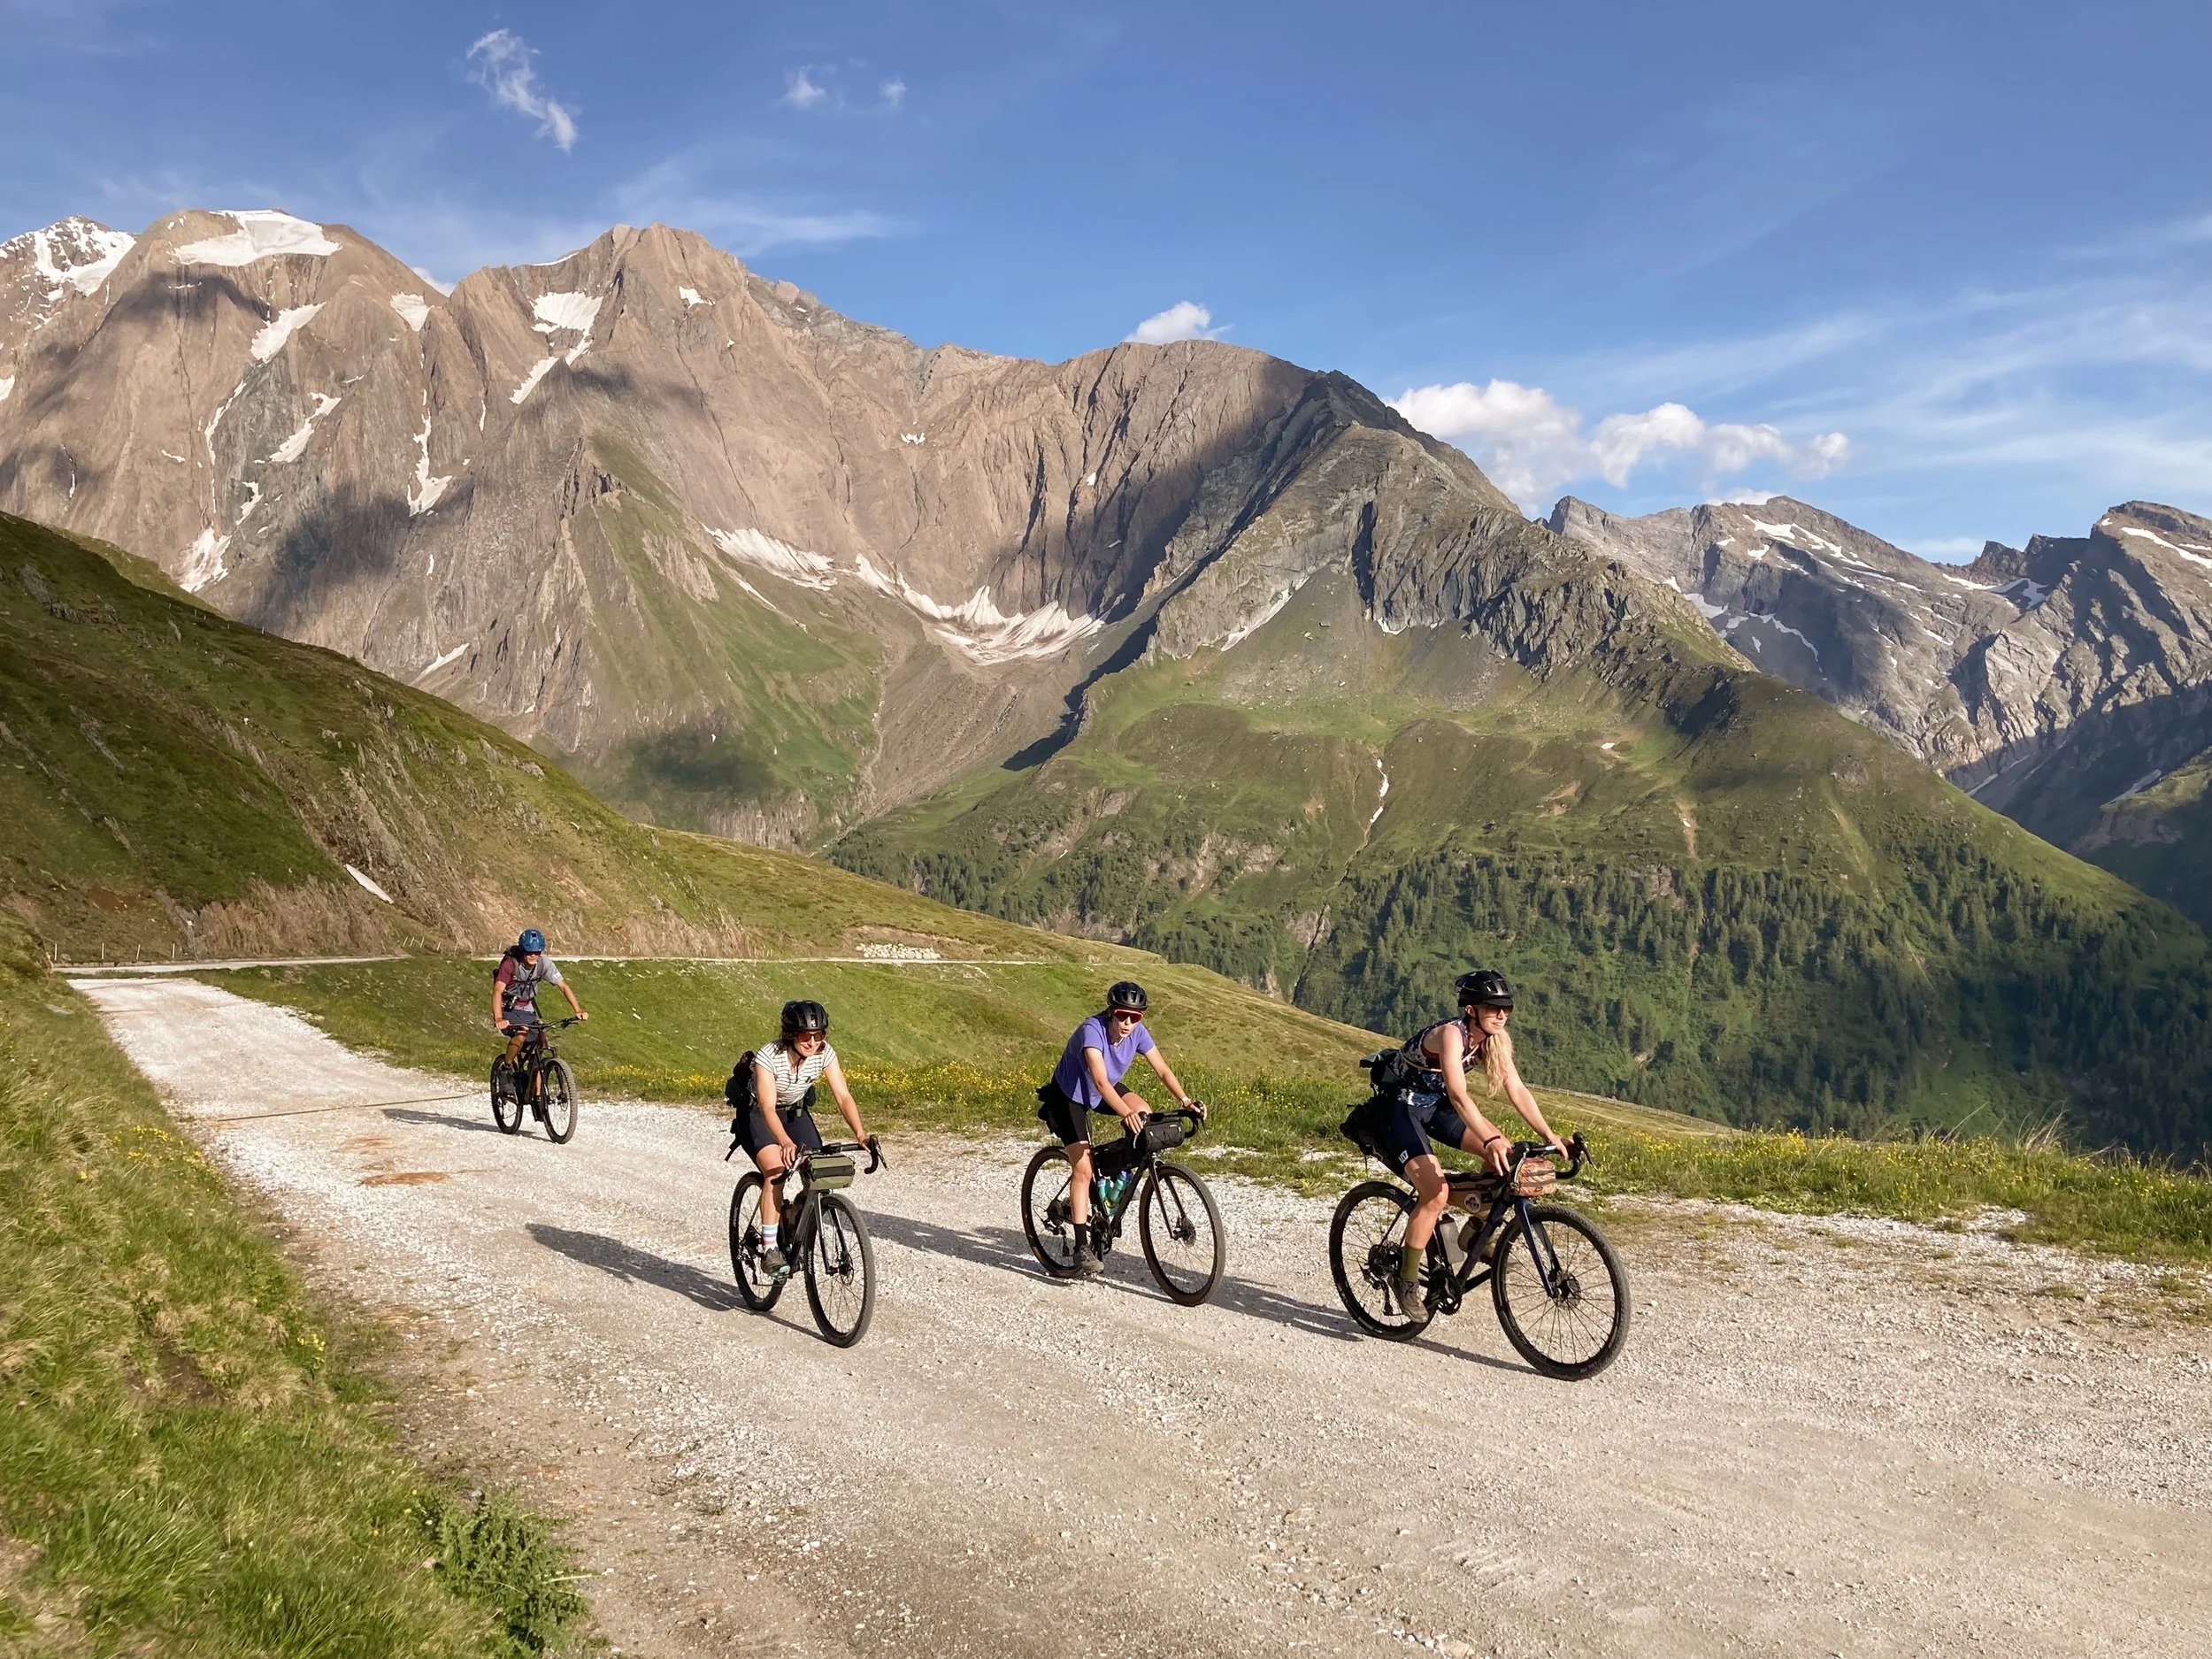
Lightweight minimal setups from a bikepacking trip in the Zillertal Alps staying in accommodation each night.
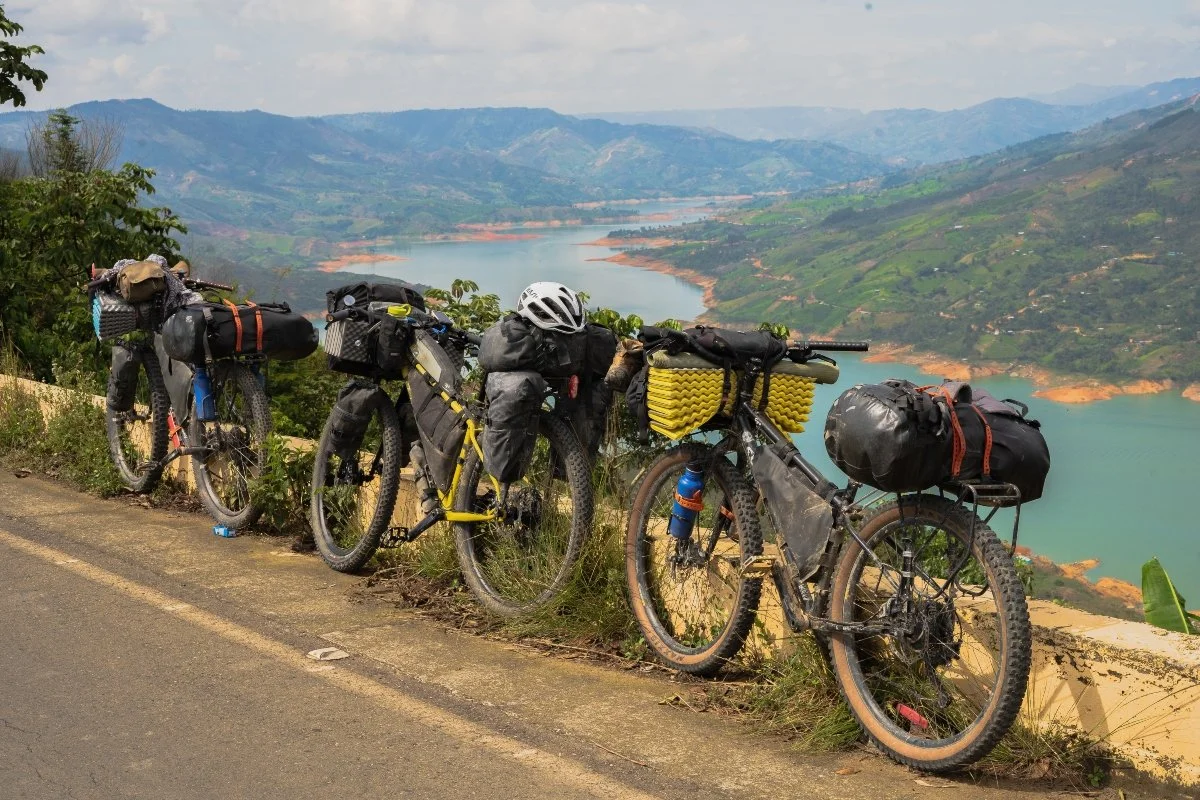
Heavy duty touring setups prepared for months on the road, from Joe Sasada’s trip to Colombia.
What Do you Need to Start Bikepacking?
So this really comes down to what your ambitions are with bikepacking. But we’re great believers of the best kit being what you already have access to. That means not going out and buying a bunch of new kit before you’ve really decided if it’s for you.
You’ll need a bike, but there’s a good chance that since you’ve made it here to this article that you already have access to a bike. Then, you’ll need to decide what you want to take with you. They key is start off small. An overnighter is a perfect starting point. Ride to a hostel, or a friend’s house in the next town. That way you won’t need to worry about carrying food, camping equipment or loads of extra clothes, just a few bits to make the evening comfortable. Then you can build it up from there.
What are Bikepacking Bags?
So when we’re talking about bikepacking specific bags what exactly do we mean? Bags come in all shapes and sizes, designed specifically for various purposes, different carrying capacities, different bike styles, different adventures too. One of the most exciting things about bikepacking is that it’s ever-evolving, and that means your setup too. So when picking your setup you have a choice of bags for different positions with varying carrying capacity or size.
Handlebar Bags — Best for Bulky, Lightweight Gear
A handlebar bag works like a stuff sack strapped to your cockpit. It’s perfect for items that take up space but don’t weigh much—think sleeping bags, puffy jackets, or a lightweight shelter. Designed to attach to your handlebars there are specific bags for flat or drop handlebars and even aero bars, ranging from as little as 1L to as much as 20L.
Great for:
A full range of different carrying capacity
Bulky compressible items like sleeping gear or clothing layers
Keeping the centre of gravity forward but still manageable
Watch Out For:
Reduced front-end handling if overloaded
Brake/shifter/cable interference
Limited steering on technical trails
Handlebar bags put to use on the Torino Nice Rally.
Frame Bags — Best for Stability & Accessibility
Designed to fit inside the centre triangle, thee are often the toughest to get right with the right option depending on the size and style of your bike frame. Available in a huge range of sizes from as little as 1L to full frame bags carrying as much as 14L. Because it sits in the centre of the bike, it keeps weight low and balanced—ideal for rough gravel or technical singletrack where handling really matters, equally great for squeezing in extra carrying capacity for long-distance touring or even day rides when you want to keep a few key essentials neatly out the way.
Great for:
Minimal impact on handling
Carrying dense/heavy items like food, water bladders, tools
Easy access on the move
Consider:
Getting the perfect fit can be tricky, particularly if you have a full-suspension MTB or small frame. Space may be tight, but partial frame bags or a custom design may be worthwhile. Tailfin’s frame pack is available in a huge range of sizes to suit almost any bike. Full review here.
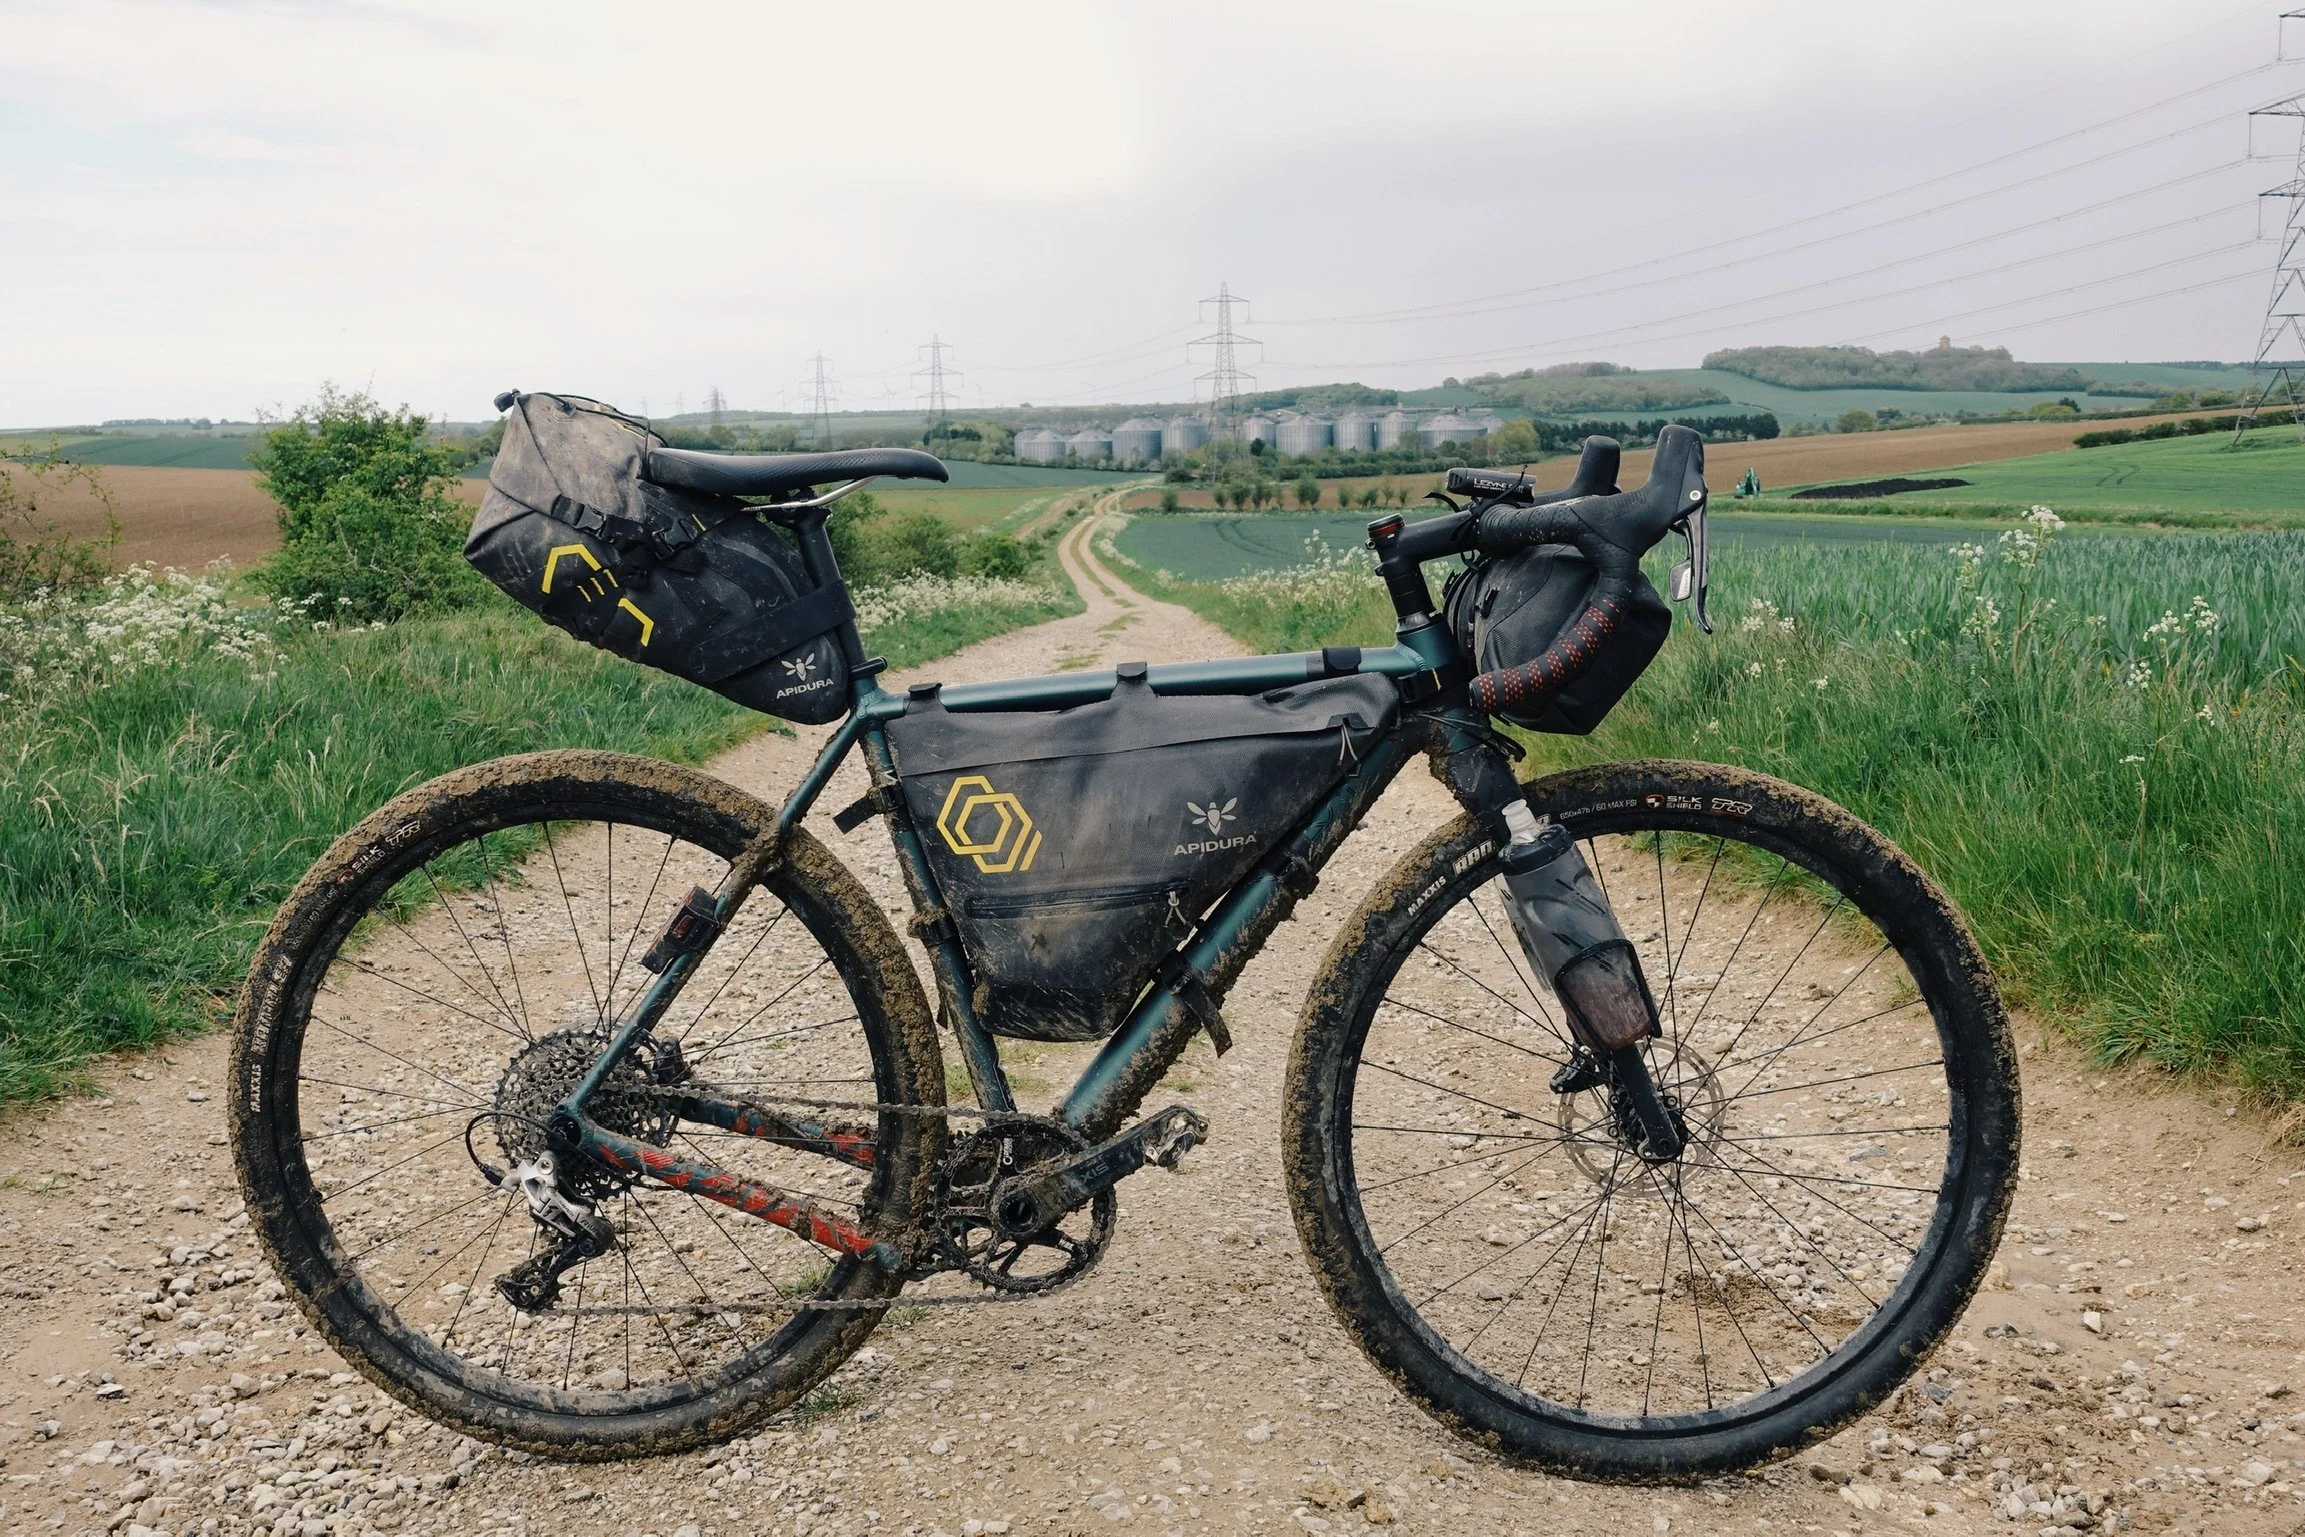
Chris’s choice of bags for the inaugural ride of Pinch Flat’s bikepacking route: The Old Chalk Way.
Saddle Packs — Best for Lightweight Touring & Racing
Another classic and maybe the design that helped define bikepacking itself, the saddle pack attaches neatly seatpost and saddle rails providing a tidy, aerodynamic solution. Available in sizes as small as 3L and up to about 18L, saddle packs give you a surprising amount of volume without the need for a rear rack. They’re ideal for clothing or other soft, compressible items.
Great for:
Riders who want to keep their setup rack-free
Multi-day trips with lightweight gear
Any kind of road or trail
Less ideal for:
Technical mountain biking, where the pack can sway or hit the rear tyre on big compressions or where you may need a dropper post–although a few brands do now make bags specifically designed to be compatible with a dropper post.
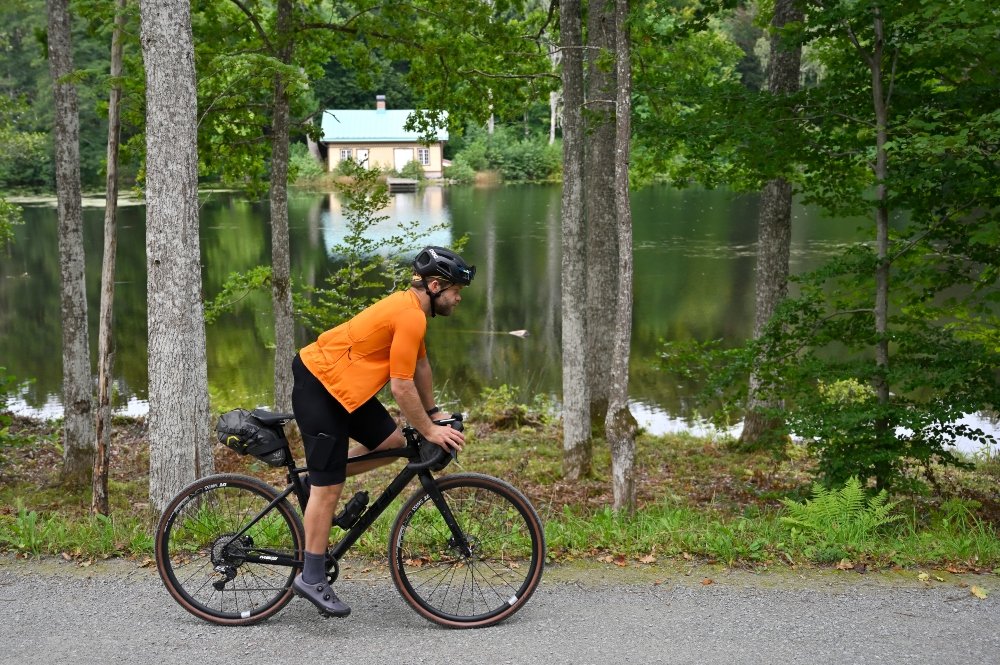
Saddle bag on the perfect gravel roads of West Sweden.
Top Tube Bags — Best for Snacks, Tools & On-the-Go Access
Top tube bags might seem small, but they’re often the MVP of a bikepacking setup. These are perfect for everything you want to reach without stopping.
Great for:
Navigation tools, power banks, snacks
Riders who want easy-access storage
Long days where constant fueling is essential
Tip:
Get one with a stable mounting system — cheap bags can rock side-to-side and rub your knees.

Riders at the start line for a weekend of Detours with a range of bikepacking bags and setups.
Fork Bags & Cargo Cages — Best for Longer Off Road Routes
If you need more storage or are traveling through remote areas, fork-mounted cages can carry dry bags, cooking kits, and even big water bottles.
Great for:
Riders going on multi-day or expedition trips
Bikes with dedicated mounts
Carrying water when it’s scarce
Downside:
Adds weight to the front wheel, which can make steering feel heavier. You’ll also need to make sure the weight is even on both sides to keep things stable.

Lucy and Cordelia with heavy duty setups for riding the length of the UK on GBduro.
Wearables — Backpacks, Hip Packs, Cargo Vests & Hydration Systems
Wearable storage doesn’t get as much attention in bikepacking guides, but it can be a game-changer. Backpacks, hip packs, cargo vests, and hydration bladders add capacity without affecting the handling of your bike. That makes them ideal for technical rides, ultralight setups, or routes where water sources are spread far apart.
Great for:
Carrying water—especially using a hydration bladder on long, dry routes
Riders who want to keep their bike feeling nimble
Stashing items that you’ll access frequently: snacks, layers, tools, electronics
Watch out for:
Overloading. Keep weight minimal to avoid fatigue and discomfort.
Heat buildup on warm days – packs can trap heat against your body.

Cargo vests in action on The Speed Project.
Racks and Panniers — Best for Big Trips on the Road
Some will argue that it’s a dated way to travel on your bike, but a good rack and pannier set up is classic for a reason. Brands like Tailfin are brining racks right up to the modern day with innovative lightweight designs designed for specific riding styles.
Great for:
Bulky items like camping equipment that might not fit elsewhere
Riders who value a user-friendly design and large capacity
Easily removing the bags from the bike
Downside:
Though newer systems are more stable than ever, traditional panniers with a rack can feel clunky and rattly.

Weronika’s full setup for a summer of living from her bike.
How to pick the perfect bikepacking bags for you
To get the perfect setup, you’ll need to consider exactly what kind of riding it is you want to do and how you can make it work with the bike you’ll be using. If your bags don’t suit the kit you already have–be it the bike you’re attaching them to or the kit you plan to squeeze inside–you may end up triggering a chain of purchasing you weren’t quite ready for. Have a think about the following as a starting point:
What terrain am I riding?
Gravel: almost any bag setup works
MTB / singletrack: prioritise stability (frame bag + stable seat pack)
Road touring: panniers or traditional touring setups can be fine
What storage capacity do I need?
Overnight: seat pack + handlebar roll + top tube bag
Multi-day: add frame bag
Expedition: add fork bags or small panniers
How does my bike frame or mounts affect mounting options?
Small frames: frame bags may be limited
Drop bars: handlebar bag size matters
Suspension bikes: consider custom or partial frame bags
What’s my packing style?
Light & fast: minimal bags, careful gear selection
Comfort-oriented: more volume, fork cages, and full frame bag

Lightweight racing setups for the The Speed Project.
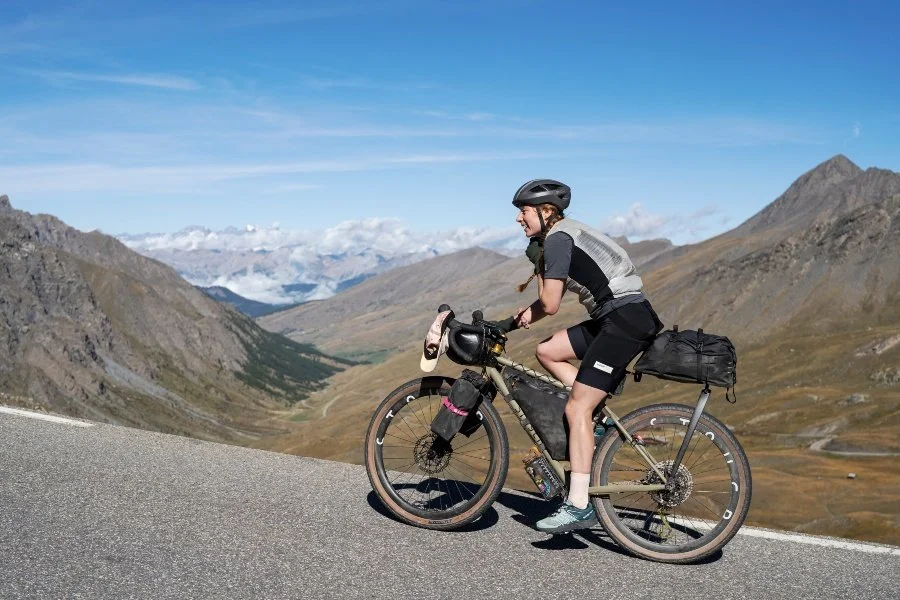
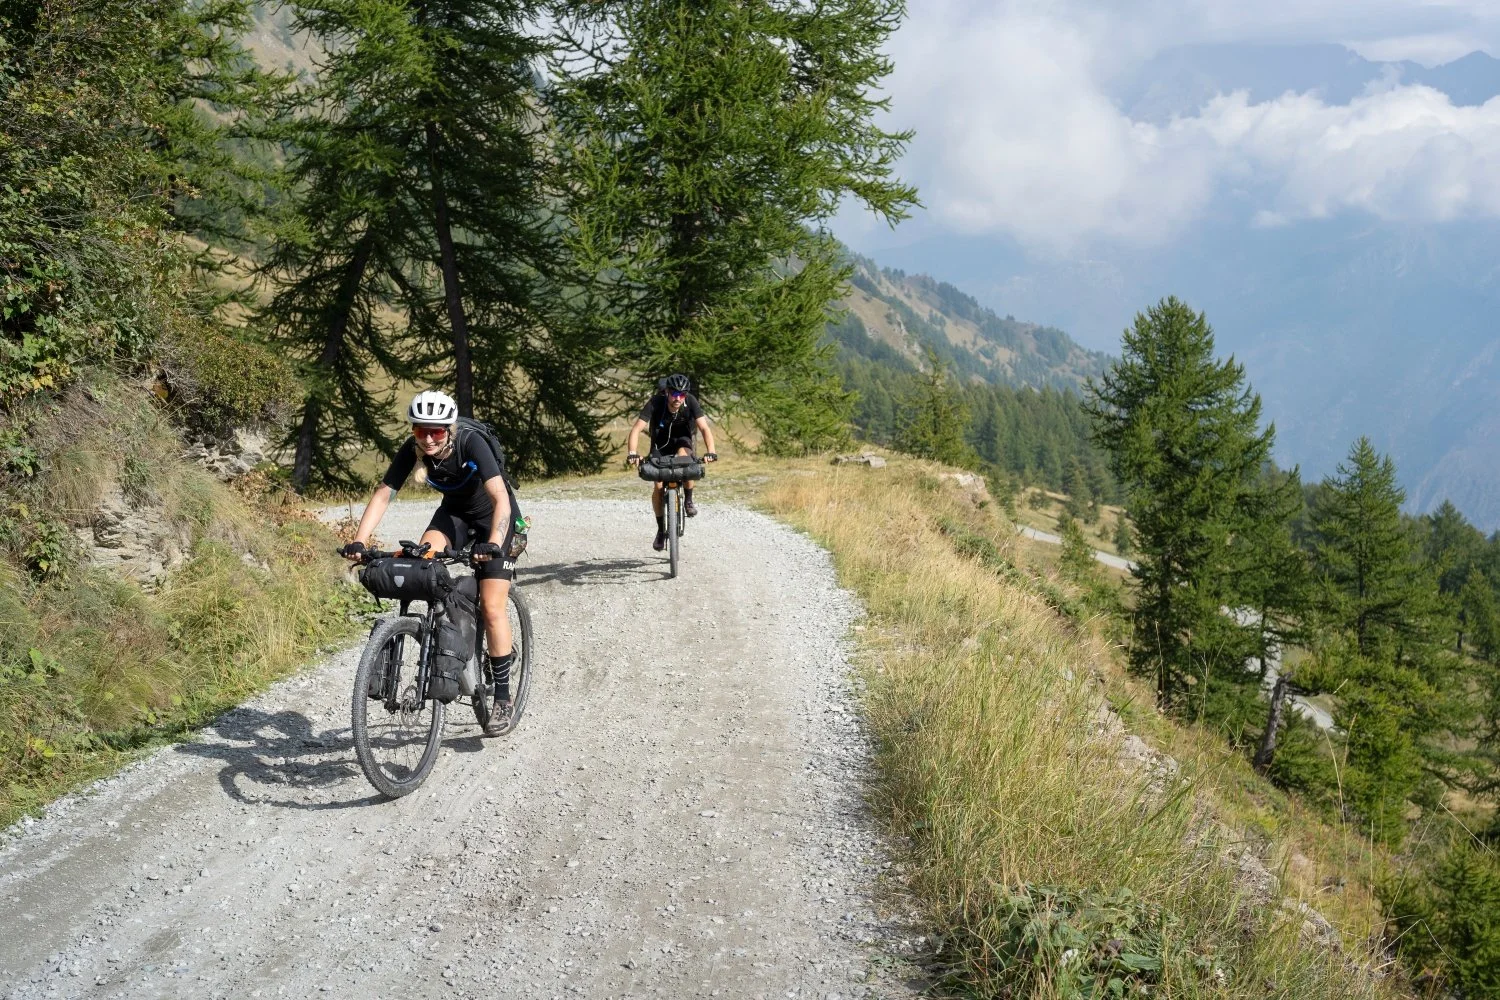
Holly riding the Torino Nice Rally with a dynamic bags setup suited to the specififc needs of a week in the Alps.
Dial in the Perfect Bikepacking Setup
No matter where your next adventure takes you, choosing the right bikepacking bags is all about balance, comfort, and finding what works for your style of riding. Start small, experiment with different configurations, and refine your kit as you go—you’ll be surprised how quickly your ideal setup reveals itself. And just because someone else says it works for them, don’t be afraid to stick to what works for you.
If you’re curious to get started but not quite ready for the commitment of buying your own setup, there are some fantastic initiatives to make bikpeacking kit a little more accessible as well as organisations that can guide you through your first bikepacking trips. For rentable bags, check out Loop Bikepacking in Bristol and for introductions to bikepacking check out Comrie Croft and Sisters in the Wild. If you’re looking for more gear tips, hit the Gear section and for route inspiration, and real-world stories from the saddle, head over to the Journal.
If this is the start of your bikepacking journey, we hope you’re as excited as we are to see where it leads. In our experience, bikepacking has a habit of finding inspiring communities, stretching across long distances and revealing incredible places far beyond the obvious routes. Have fun out there, embrace the adventure, and the rest will fall into place.